Related Posts

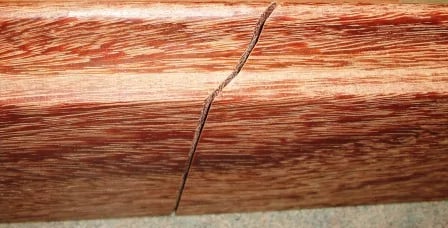

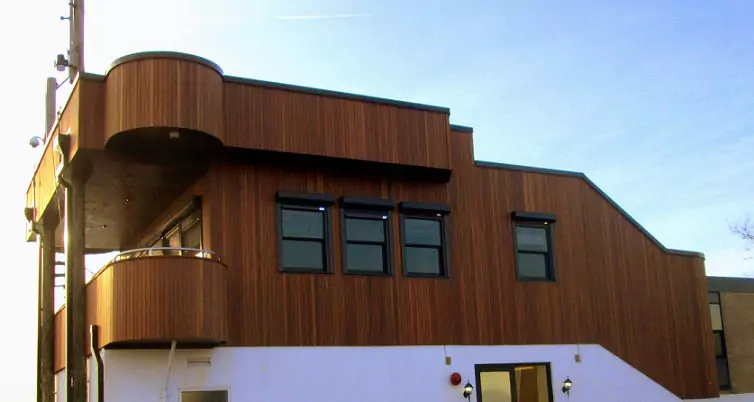
You can create beautiful wood rain screen designs and installations with the Climate-Shield Rain Screen System, horizontally, vertically and diagonally. Climate-Shield really shines on vertical rain screen installations. A unique aspect of the Climate-Shield system is its ability to be installed around curved wall surfaces.
When installing a typical vertical rain screen on a flat wall surface, the Climate-Shield vertical starter rail would be used at the bottom to set a level line. From there, the bottom of the siding boards would be notched with a router so they can seat properly into the rain screen starter rail.
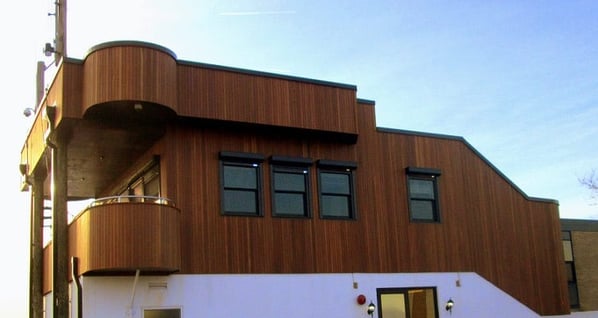
The picture (above) of the US Coast Guard Station at Indian River Inlet in Delaware shows a vertical rain screen installation on both a flat wall surface and also on a tightly curved arc (about 5 or 6 feet diameter).
With a vertical wood rain screen installation on a tightly curved wall, however, the starter rail cannot bend, so different installation techniques are needed. If you are installing wood rain screen vertically on a curved surface here are are a few tips for a great looking job you can be proud of:
1.) Notch the bottom of the siding boards so they can seat into a Climate-Shield rain screen clip.
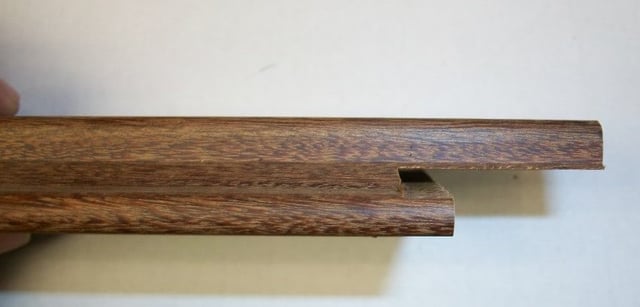
2.) Install one rain screen clip at the bottom of each starter board
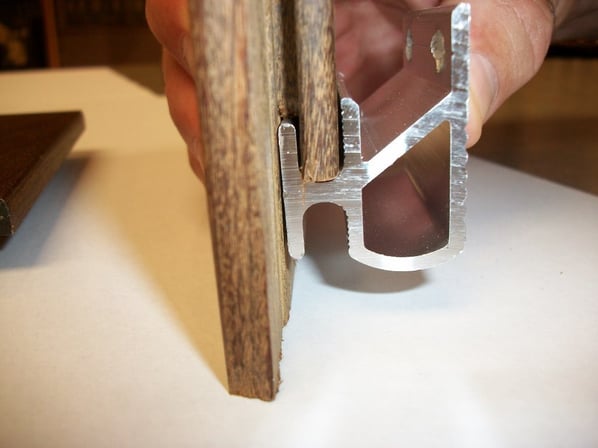
3.) If the bottom of the clips will be visible (above eye level), you may want to spray-paint them black for a better looking installation. The black color hides the rain screen clips in the shadow line making them nearly invisible from below.
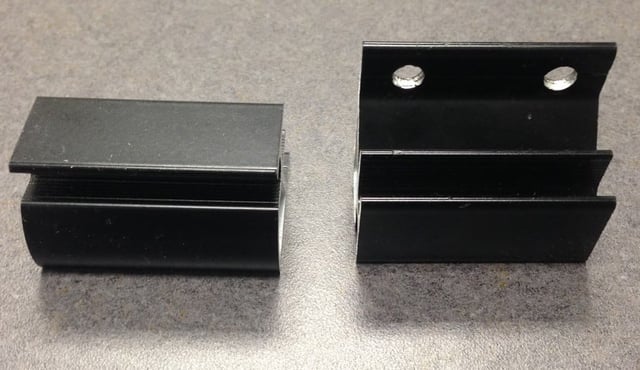
Once the bottom notches are made, you can continue installing the rain screen clips vertically along their full length (sides) of each board per the standard Climate-Shield Vertical Installation Guidelines. We hope these installation tips are helpful. Please contact us if we can provide additional information.
To learn more about Climate-Shield, rain screen installation and more, please visit MataverdeDecking.com.


